Headlight Restoration Service: A Step-by-Step DIY Guide


Why Headlight Restoration Matters
Over time, car headlights can become cloudy and discolored due to exposure to UV rays, harsh weather conditions, and road debris. This not only affects the aesthetic appeal of your vehicle but also reduces the effectiveness of your headlights, compromising night-time visibility and safety. Fortunately, restoring clarity to your headlights can be a simple DIY project.
By undertaking a headlight restoration, you can enhance your vehicle's appearance and improve driving safety. It’s a cost-effective alternative to purchasing new headlights and can be completed with some basic tools and materials.
Gather Your Materials
Before you begin the restoration process, you'll need to gather a few essential materials. These items are generally available at local automotive stores or online:
- Headlight restoration kit or sandpaper (800, 1000, and 2000 grit)
- Masking tape
- Microfiber cloths
- Plastic cleaner or soap and water
- UV sealant or protectant
If you choose a headlight restoration kit, it will typically include most of these materials. Ensure you have everything on hand before starting the process.
Preparing the Headlights
The first step is to prepare the headlights and the surrounding area. Use masking tape to protect the paintwork and trims around the headlights. This helps prevent accidental scratches during the sanding process.
Next, clean the headlights thoroughly with a plastic cleaner or soap and water. Removing dirt and grime ensures better contact with the sanding materials and improves the restoration results.

Sanding the Headlights
The sanding process is crucial for removing the oxidized layer on your headlights. Start with the coarsest sandpaper (800 grit) and move in a horizontal motion across the headlight surface. Keep the surface wet by occasionally spraying water to prevent scratches.
Once you've sanded with the 800 grit paper, repeat the process with the 1000 grit sandpaper, followed by the 2000 grit paper. Each step will further smooth the surface and remove any remaining imperfections.
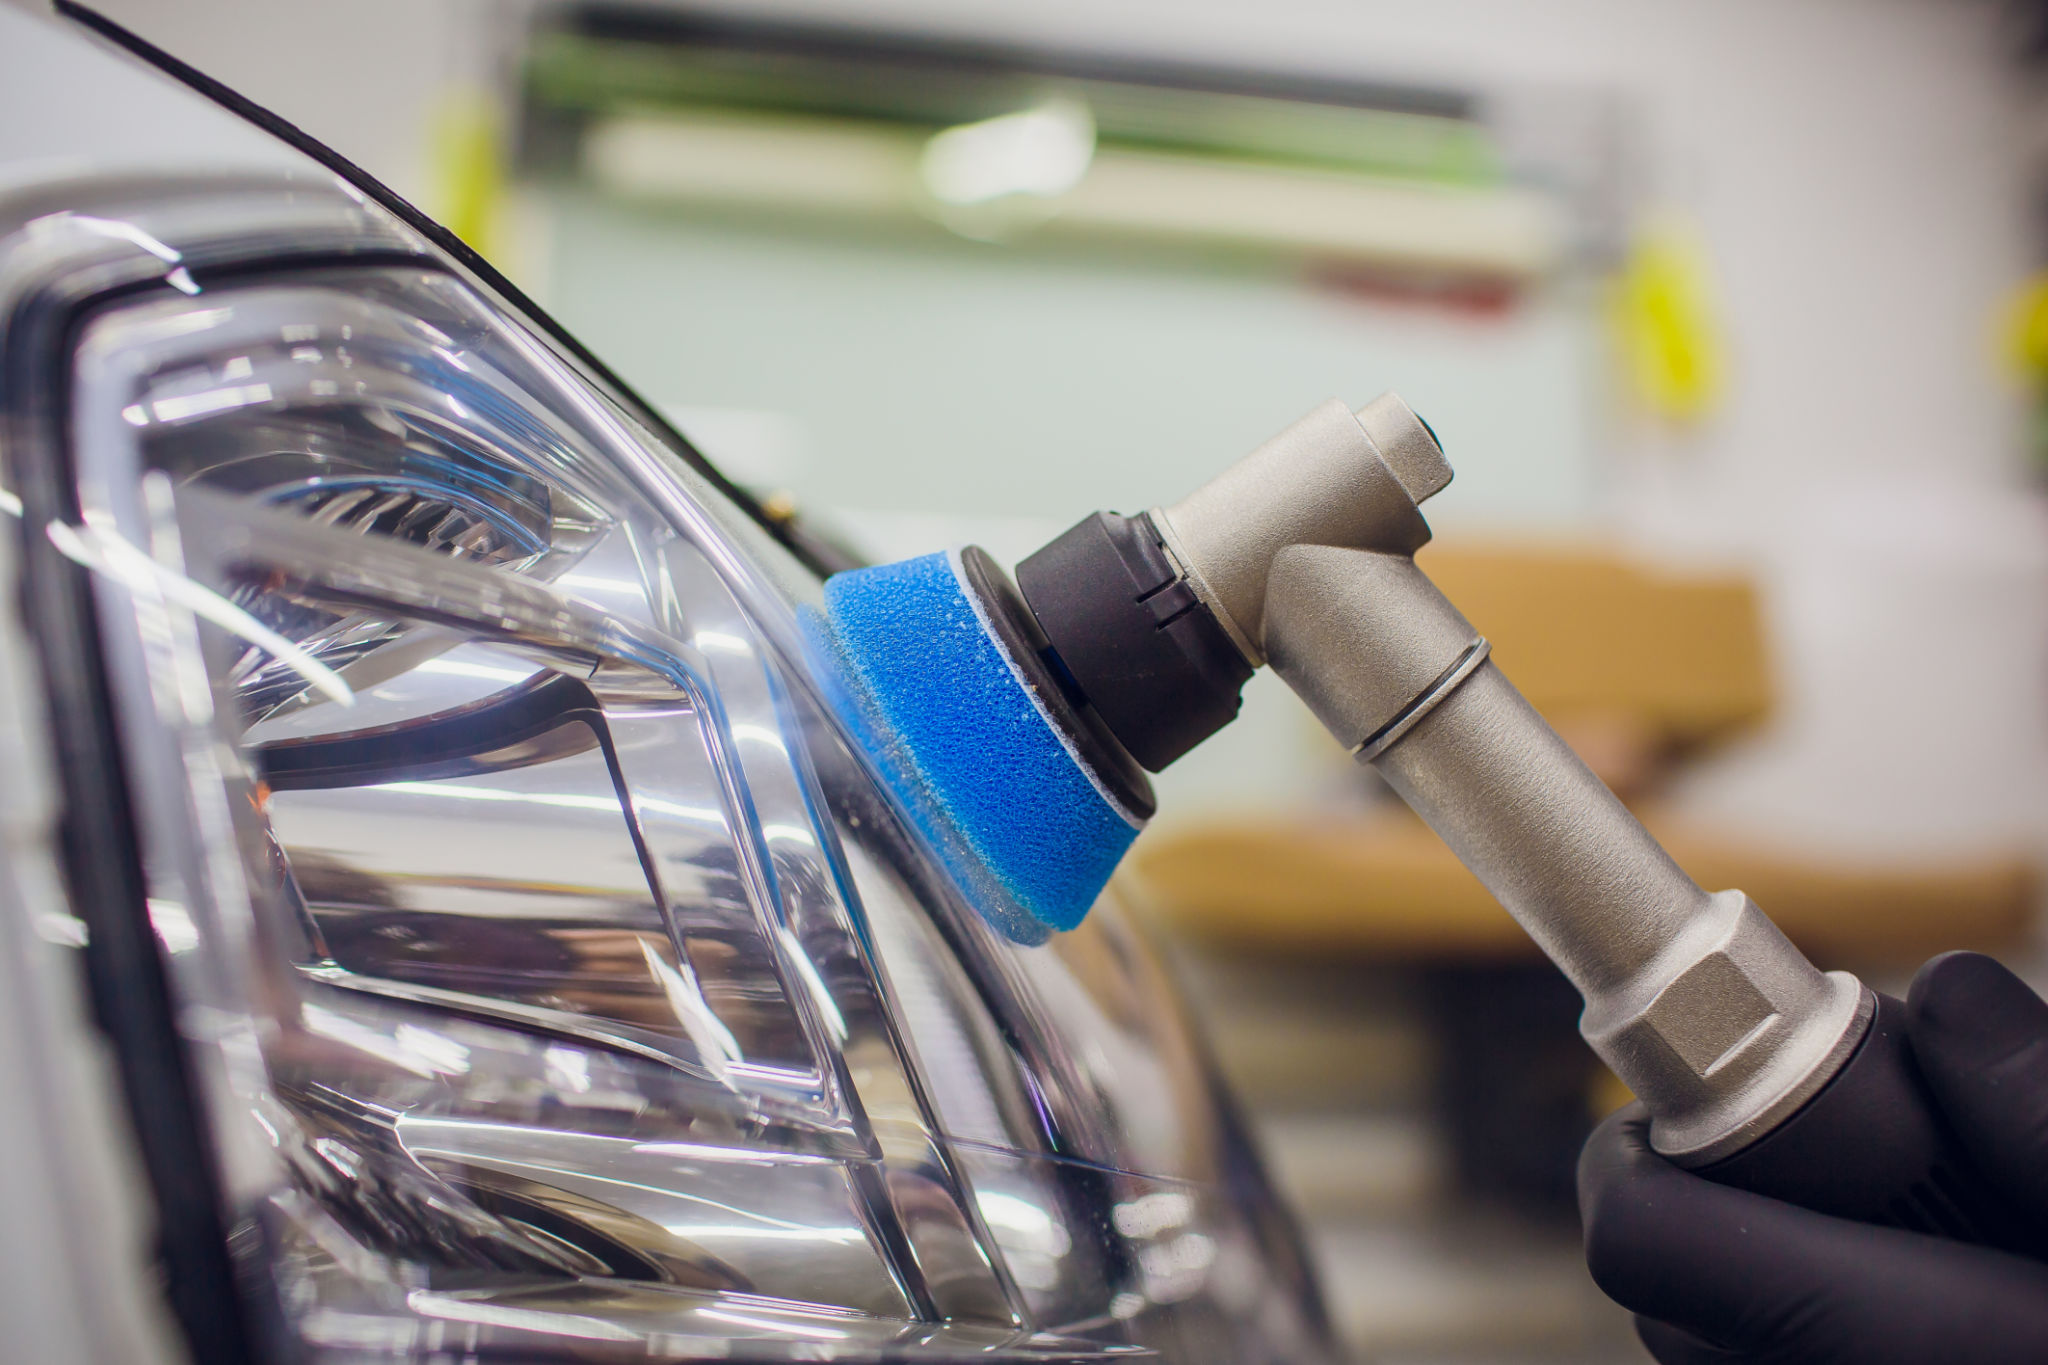
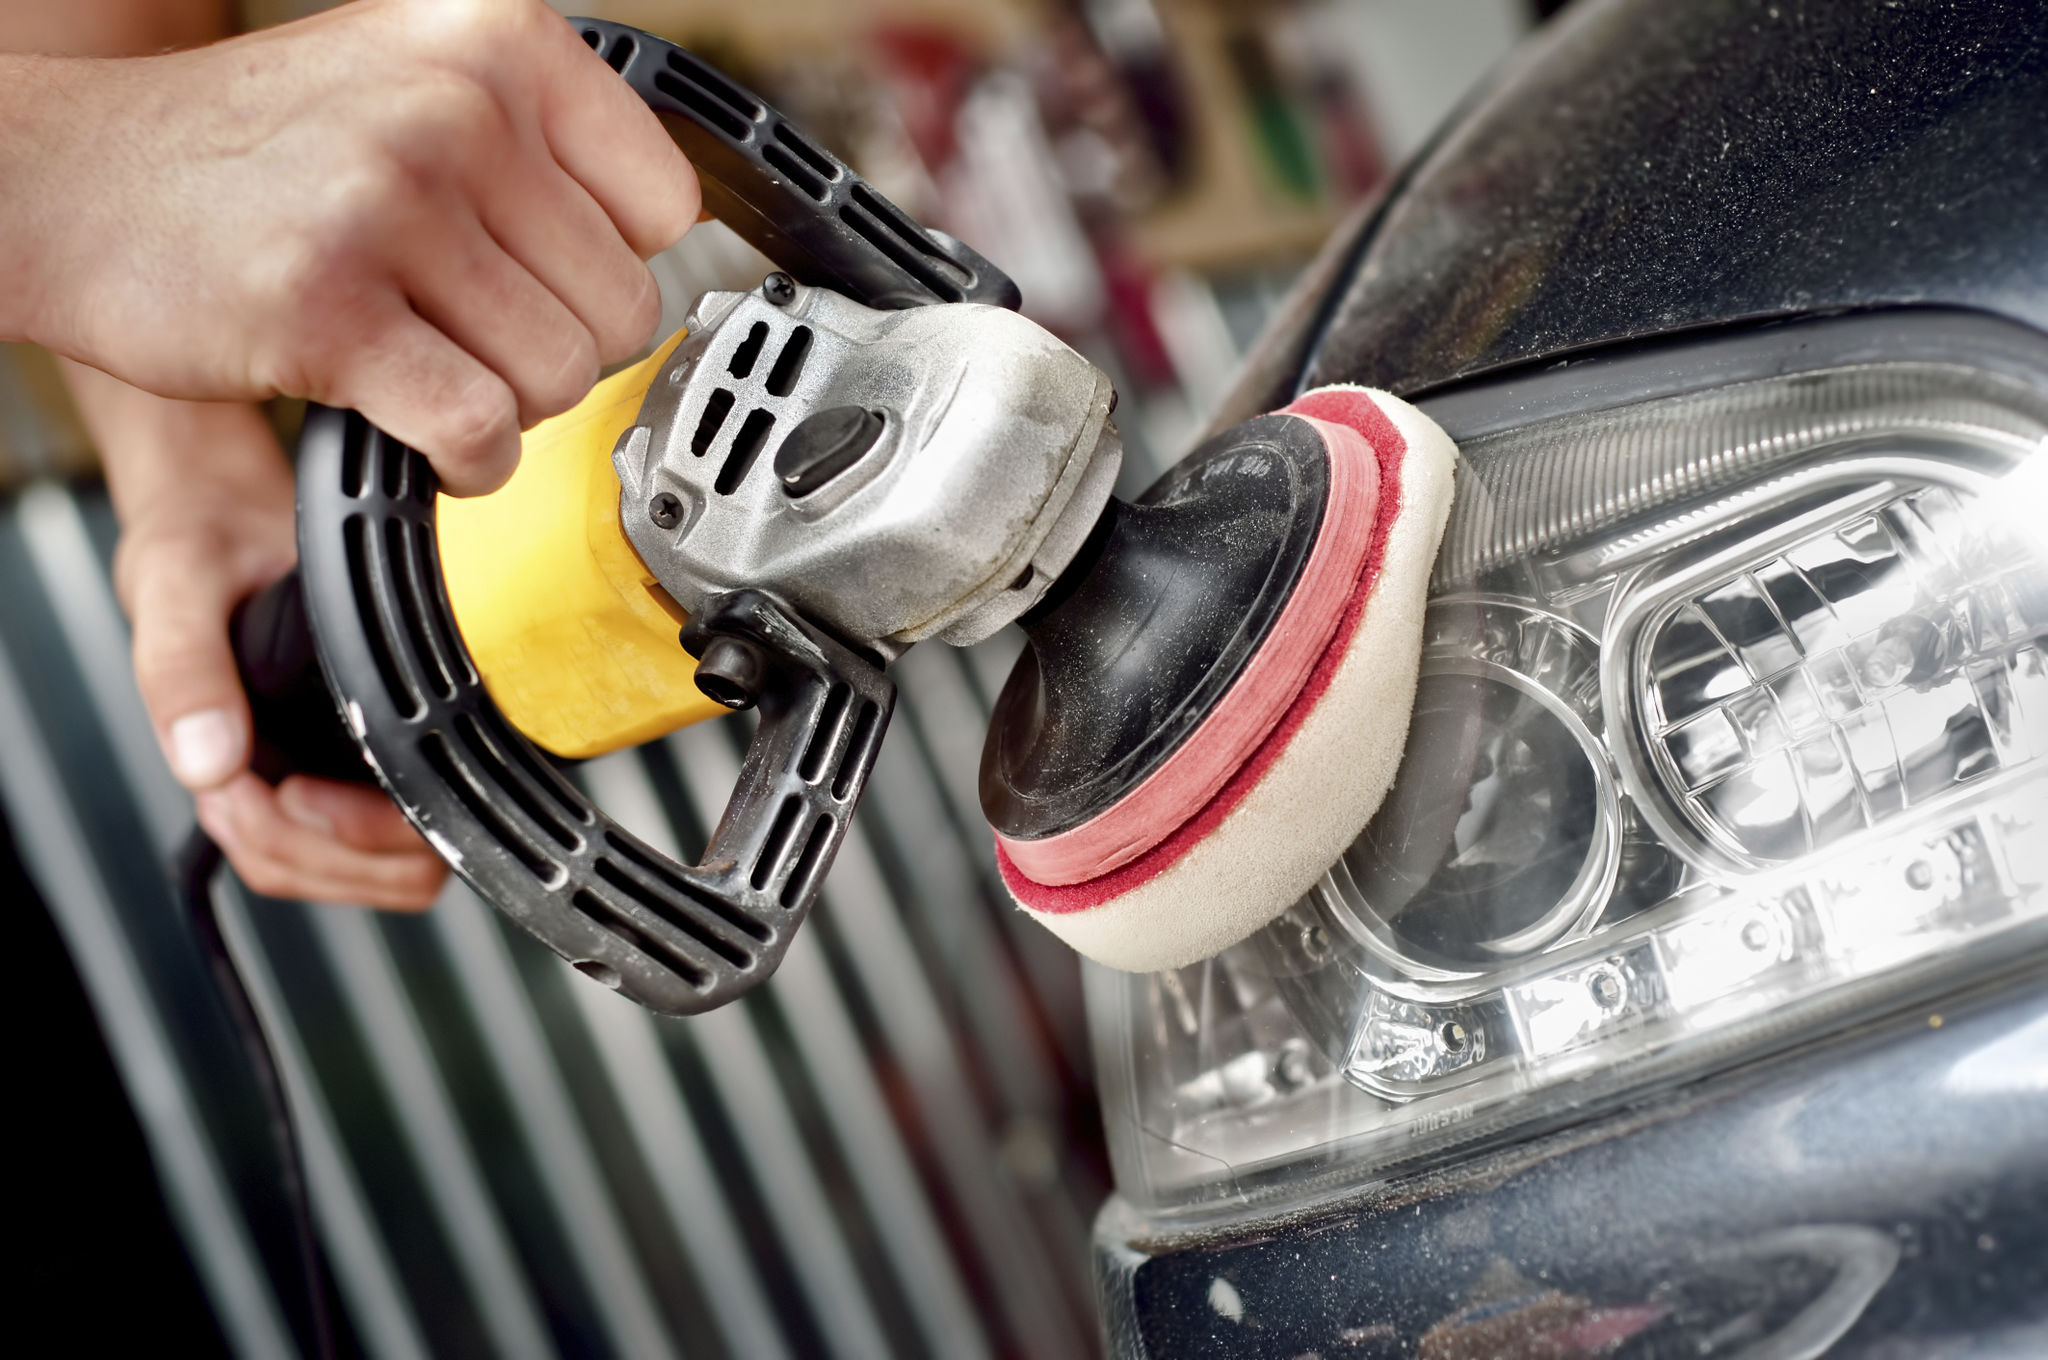
Polishing and Sealing
After sanding, it's time to polish the headlights. Use a microfiber cloth to apply a plastic polish or compound in circular motions. This step helps restore clarity and shine to the headlights.
Finish the process by applying a UV sealant or protectant. This product will help protect your headlights from future oxidation and UV damage, extending the life of your restoration work and maintaining visibility.
Regular Maintenance Tips
To keep your headlights in top condition, consider regular maintenance. Cleaning them regularly with soap and water can help maintain their clarity. Additionally, applying a UV protectant every few months can offer ongoing protection against sun damage.
Remember that environmental factors will eventually cause your headlights to age again. However, following these maintenance tips can significantly delay that process.
Consider Professional Services
If you're not comfortable undertaking this task yourself or if your headlights are severely damaged, consider professional headlight restoration services. Professionals use advanced techniques and tools that can achieve excellent results.
Although it involves a cost, professional restoration services might be more efficient in some cases, especially if you're looking for long-lasting results without the hassle of DIY efforts.